Achieve Salon-Worthy Gel Nails at Home: A Step-by-Step Guide
Learn how to achieve flawless, salon-quality gel nails from the comfort of your home with this easy-to-follow step-by-step guide. Discover the tools, techniques, and tips for a long-lasting, professional-looking manicure that will keep your nails shining for weeks!
10/9/20242 min read


Introduction to Gel Nails
If you’re someone who loves the look of perfectly polished nails but hates frequent trips to the salon, this post is for you! Achieving salon-worthy gel nails at home is not only possible, but also quite simple with the right tools and techniques. Today, I’ll take you through the steps you need to follow to get that fabulous finish without the hefty salon price tag.
Gathering Your Essential Tools
Before diving into the process, let’s talk about the tools you’ll need. To start off, you’ll need:
A gel polish kit (base coat, colored gel, and top coat)
Cuticle oil and remover
Having the right tools will make your experience smoother and yield better results. Once you’ve gathered everything, you’re ready to transform your nails!
Step-by-Step Application Process
Now that you’re equipped with all the necessary tools, let’s get to the fun part—application! Follow these steps for gorgeous gel nails:
Prep Your Nails: Start by removing any old polish and pushing back your cuticles. Give your nails a gentle buff with a nail file to create a smooth surface.
Cleanse Your Nails: Use a lint-free wipe soaked in alcohol to cleanse the nails. This removes any dust or oil that might interfere with the application.
Apply Base Coat: Apply a thin layer of gel base coat to each nail, making sure to seal the tips. Cure under your UV or LED lamp according to the manufacturer's instructions.
Color Time: Choose your favorite gel polish and apply it evenly on top of the cured base coat. Cure it again until fully set. Repeat this step if you want a more opaque color.
Top Coat: Finish off with a layer of gel top coat to seal in the color and add shine! Cure one last time.
Final Touch: Wipe off the tacky residue with a lint-free wipe soaked in alcohol, and don’t forget to massage cuticle oil around your nails.
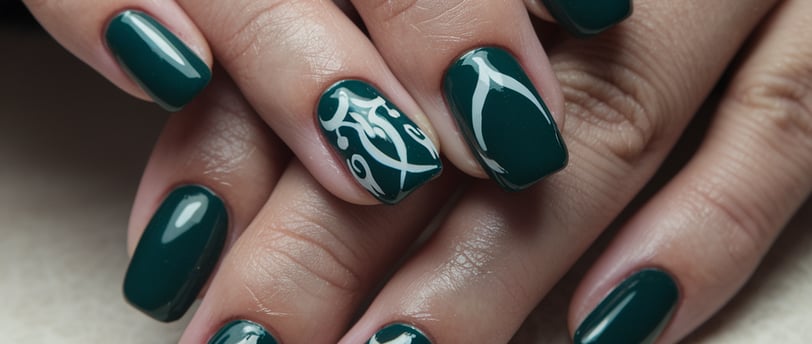
And voilà! Your nails should now resemble the work of a professional nail technician. With a little practice, you’ll be able to perfect your gel nail application and enjoy a long-lasting manicure right in the comfort of your home.
Maintaining Your Gel Nails
To keep your newly polished gel nails looking fabulous for longer, take care of them! Avoid using your nails as tools, maintain proper hydration by applying cuticle oil regularly, and refrain from soaking in water for extended periods. These small precautions will help your gel nails last for weeks.
So, are you ready to ditch the salon and flaunt your dazzling gel nails? With this handy guide, you can easily achieve a professional look at home. Happy polishing!

Disclosure
This blog may contain affiliate links, which means I may earn a small commission if you click and make a purchase, at no extra cost to you. I only recommend products or services that I trust and believe will benefit my readers.
Disclosure
This blog may contain affiliate links, which means I may earn a small commission if you click and make a purchase, at no extra cost to you. I only recommend products or services that I trust and believe will benefit my readers. All opinions are my own.
